I've been such an absent blogger lately and I have no good excuses so I won't try. The house however has been coming along nicely, with the external painting happening at a nice pace. I have coveted the gray and white look for years and we are now finally seeing it come to life. Painting over the maroon and cream has been very exciting as has watching Paul the Painter scale the heights without a net.
Here are some pics to show off the colour scheme. It's not quite done so imagine the rest of it without the cream and maroon.
Showing posts with label painting. Show all posts
Sunday, May 22, 2011
Monday, March 21, 2011
Different views
Much has happened this past few weeks and I thought it was time to share what the house looks like from all angles. Painting is progressing well, carpentry is nearly done, place is fairly tidy, life is good.
Pic 1: View of both floors. Note bottom floor is gray and top is cream. The top will be gray as well.
Pic 2: Left side
Pic 3: View from the backyard. There will be a set of stairs in the vacant slot (between the poles). Note ladder balancing on the verandah.
Pic 4: Right side yard with soon to be installed black gates
Pic 5: Back yard. Note garden growing nicely
Pic 6: Front yard, garden all nicely trimmed and plants thriving
Pic 1: View of both floors. Note bottom floor is gray and top is cream. The top will be gray as well.
Pic 2: Left side
Pic 3: View from the backyard. There will be a set of stairs in the vacant slot (between the poles). Note ladder balancing on the verandah.
Pic 4: Right side yard with soon to be installed black gates
Pic 5: Back yard. Note garden growing nicely
Pic 6: Front yard, garden all nicely trimmed and plants thriving
Wednesday, March 16, 2011
Painting in more depth
Now I know that yesterday's post showed a lovely, finished paiting job and you will be forgiven for thinking this happened quickly and easily. You will also be forgiven for thinking it is finished. I've tried to be as honest as possible on this blog so here is the reality behind the pretty picture.
For the last goodness-knows-how-long we have lived with undercoated exterior walls. As you can see in the picture, the walls were patchy and filthy for quite some time. They also fell victim to a prank gone wrong when Big Boy decided to attempt to hit the dog* with a tin of diesel oil in a sneaky prank which thankfully didn't pan out as planned. It did however erupt violently all over one of our walls. I'll leave it up to you to decide whether Mark thought this was funny.
So to make up for exhibits A and B (above) I am now relishing having exhibit C (below). It's so nice to have two walls painted and of course I got excited and had to purchase pots for the front door. At $35 a pop from The Reject Shop I couldn't let them pass me by.
And finally the money shot -our painted wall and lovely front door. I think I've mentioned it before but for those that might have missed it I will reveal all again - these doors came from an op shop and cost $70. Total. My husband, who refused to set foot in an op shop when we were first married, is now an eagle eye when we visit them. It was he who spotted these doors and snapped them up. I love them and for $70 they couldn't have been a better choice.
* Disclaimer: He wasn't actually trying to hurt the dog, he was trying to scare him AKA slapstick comedy.
For the last goodness-knows-how-long we have lived with undercoated exterior walls. As you can see in the picture, the walls were patchy and filthy for quite some time. They also fell victim to a prank gone wrong when Big Boy decided to attempt to hit the dog* with a tin of diesel oil in a sneaky prank which thankfully didn't pan out as planned. It did however erupt violently all over one of our walls. I'll leave it up to you to decide whether Mark thought this was funny.
We also faced another issue with our walls which drove me mad for ages. If you look in the photo below you should be able to see spatter on the lower boards. The spatter is actually concrete which was left behind and set solid when we had the concrete poured. It was all over every wall, sometimes up to my head height. Poor Paul has had to scrape it all off when prepping to paint. The picture below is the third outside wall to be painted - this will get done this weekend.
So to make up for exhibits A and B (above) I am now relishing having exhibit C (below). It's so nice to have two walls painted and of course I got excited and had to purchase pots for the front door. At $35 a pop from The Reject Shop I couldn't let them pass me by.
And finally the money shot -our painted wall and lovely front door. I think I've mentioned it before but for those that might have missed it I will reveal all again - these doors came from an op shop and cost $70. Total. My husband, who refused to set foot in an op shop when we were first married, is now an eagle eye when we visit them. It was he who spotted these doors and snapped them up. I love them and for $70 they couldn't have been a better choice.
* Disclaimer: He wasn't actually trying to hurt the dog, he was trying to scare him AKA slapstick comedy.
Saturday, March 12, 2011
Big changes
The final stages of our renovation are here now and our pace has picked up. We are sprinting toward the finish line in wonderful fashion and I couldn't be happier.
The last couple of weeks Paul has been painting away diligently. I have tried to keep the kids away as much as possible and he's been able to achieve a lot in a very short amount of time.
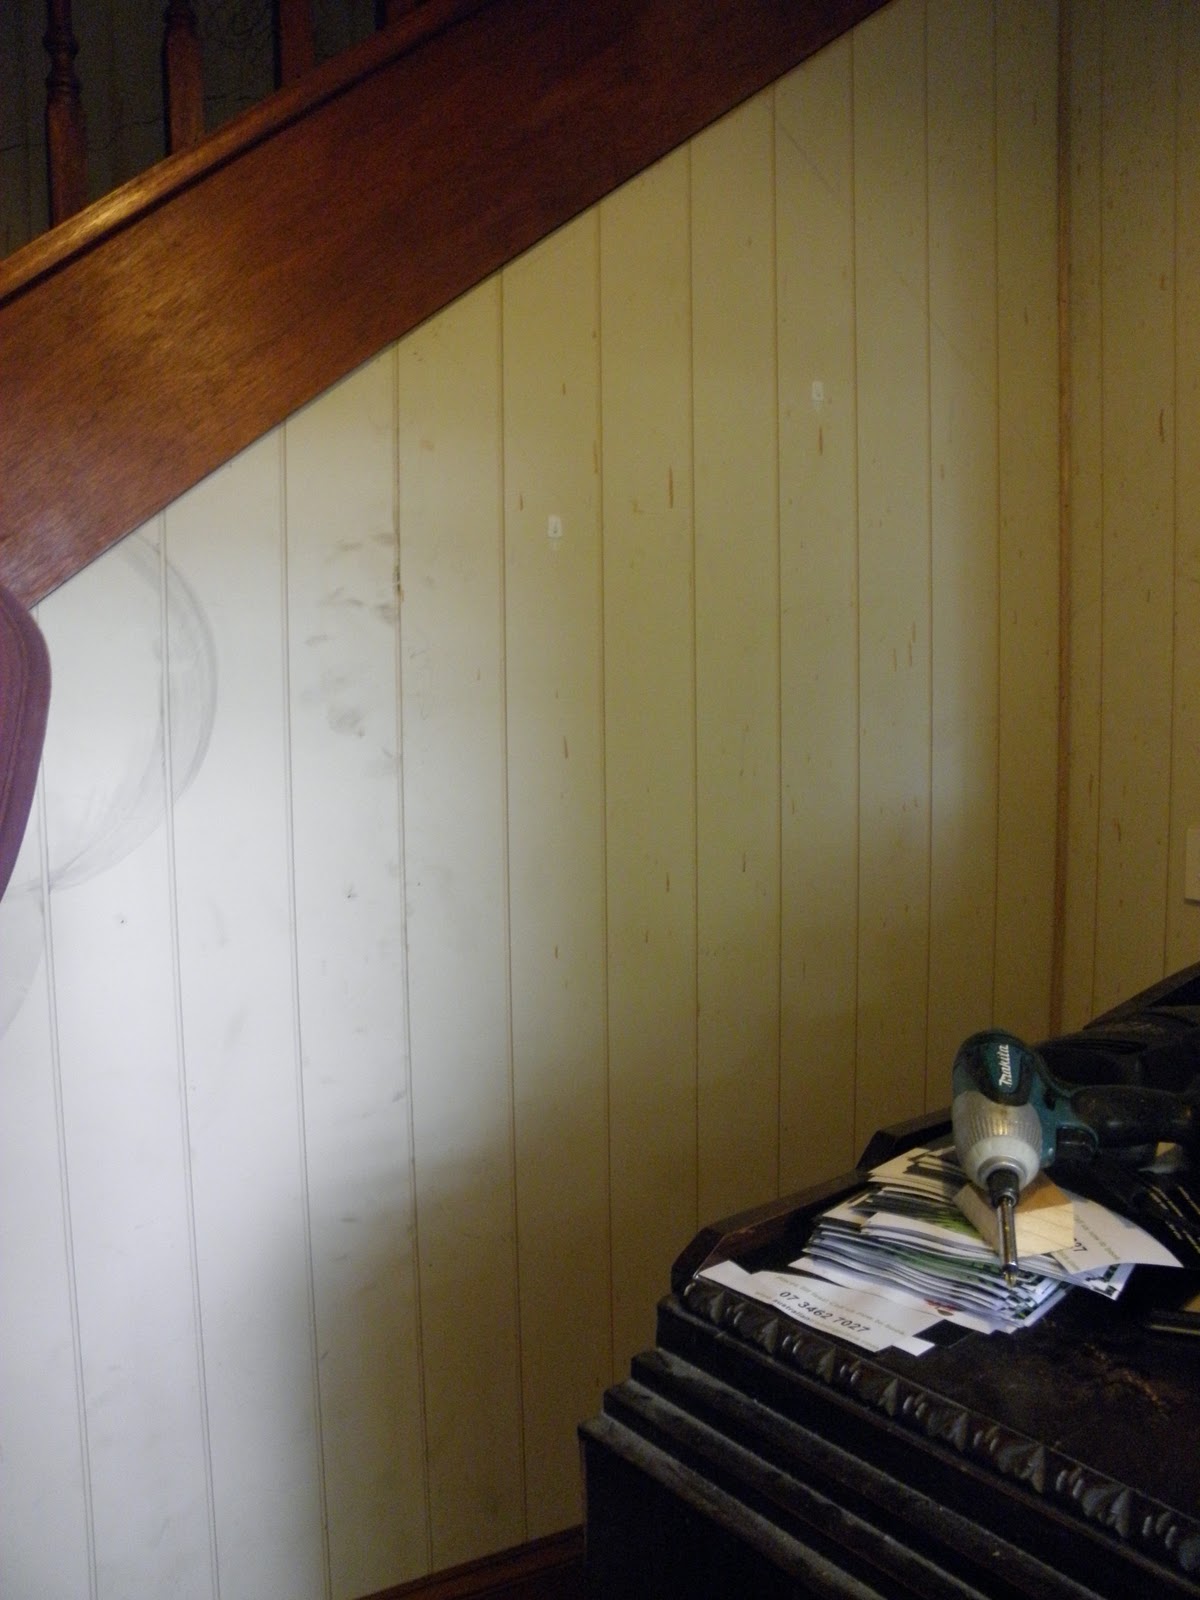
Until last week we were greeted each day by a horrible entry area. The walls were covered in paint splatter, pen marks (thanks kids) and a splotches of stain that fell everywhere when the staircase was being finished. This is what were were living with.
Then Paul rode in and waved his magic paintbrush. Soon we were left with a peaceful, clean entry area awash with paint.
Bliss!
The last couple of weeks Paul has been painting away diligently. I have tried to keep the kids away as much as possible and he's been able to achieve a lot in a very short amount of time.
Until last week we were greeted each day by a horrible entry area. The walls were covered in paint splatter, pen marks (thanks kids) and a splotches of stain that fell everywhere when the staircase was being finished. This is what were were living with.
Then Paul rode in and waved his magic paintbrush. Soon we were left with a peaceful, clean entry area awash with paint.
Bliss!
Sunday, February 13, 2011
Wow!
Our hardworking double team of Paul the Painter and Alex the Builder have produced fantastic results over the last week. So far we have seen our kitchen move one huge step closer to completion and it's heaven to look at a fully painted wall instead of a motley arrangement of colour samples.
You might remember the debate I was having about choosing to continue our green theme or paint the kitchen white? The final decision was to go with the green and we are very happy we did, it looks wonderful.
Here the wall was beginning to take shape. Notice there is no masking tape? Paul doesn't use it because he is so skilled that he somehow manages to paint exactly to the edges. It's amazing to watch.
And here's the final product. It's just wow, that's the only word I have.
Now for the next important question. What should I use to cover the large sliding door?
The cutting in begins
Here the wall was beginning to take shape. Notice there is no masking tape? Paul doesn't use it because he is so skilled that he somehow manages to paint exactly to the edges. It's amazing to watch.
Finally this corner starts to look like it matches up.
And here's the final product. It's just wow, that's the only word I have.
Now for the next important question. What should I use to cover the large sliding door?
Wednesday, July 21, 2010
More paint questions- feedback please!
We've painted a few of the panels in the kitchen with three paint options. We have some opinions based on how they have turned out but I'd love to hear your opinion too. What do you think?
Green on the left, Antique White USA on the right.
White on the left, normal unpainted panels on the right.
Friday, May 14, 2010
What colour should I paint my Queenslander house?
The exterior of our Queenslander is a mix of maroon, blue and cream, though ideally I'd love to paint it grey and white. Working out just what colours suit a Queenslander home can be a challenge so I thought I'd share a great resource I came across.
When we were painting the interior of our house we were lucky enough to grab a Dulux colour brochure that is specifically designed for traditional homes. I recently went looking for ours only to find it missing. The paint shop no longer seems to stock it however my local guy had one hiding out the back and I have it here in all its glory. The brochure is great as it breaks down the paint trends into period, eg. Victorian, Federation etc.
I've also discovered that there is a link to a similar, updated brochure on the Dulux website. Click here to have a look. It differs however from my pamphlet, which seems to have more colours and bigger pictures to pour over. If anyone out there wants a copy please let me know and I'll scan it for you. Here's a look at one of the pages (crudely photographed by yours truly.)
When we were painting the interior of our house we were lucky enough to grab a Dulux colour brochure that is specifically designed for traditional homes. I recently went looking for ours only to find it missing. The paint shop no longer seems to stock it however my local guy had one hiding out the back and I have it here in all its glory. The brochure is great as it breaks down the paint trends into period, eg. Victorian, Federation etc.
I've also discovered that there is a link to a similar, updated brochure on the Dulux website. Click here to have a look. It differs however from my pamphlet, which seems to have more colours and bigger pictures to pour over. If anyone out there wants a copy please let me know and I'll scan it for you. Here's a look at one of the pages (crudely photographed by yours truly.)
Thursday, March 4, 2010
Looking up
I've been busy snapping away, trying to capture those interesting parts of the house that readers may like. Of course I've now run out of batteries, so stay tuned for pictures of our recent tree removal and the gripping tale of 'Tree Guy.'
Until then I thought I'd show you my light. We have four of these in a row in our new lounge area. I love them but boy were they hard to pick out. Once again we had to make sure that we stayed in keeping with our traditional theme and I had to make sure I didn't yell out 'sold' when we were shown all the glorious chandeliers. All is not lost though- I'm hoping to get a chandelier for our kitchen area. Stay tuned for that
Oh and before you ask- no we don't have any architraves yet. Of course those are another job waiting to be done and as we are trying to match the gorgeous ones that are upstairs it may be a while yet before we have enough money, order them, wait for them and finally get them installed.
Here are the beauties in all their glory.
Subscribe to:
Posts (Atom)